

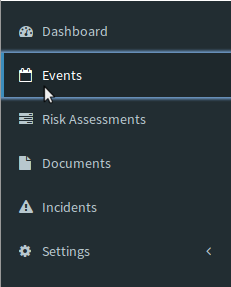
Click “Events” in the sidebar on the left side of the screen.
Add an Event by pressing the  button in the upper right corner.
- Event Type – Switch the ‘Event Type’ slider from
 to
to  if your event is reoccuring.
- For Event – Select from the options that best suits your Repeated Event.

Click “Confirm” when you have completed your “Repeat Event” details.
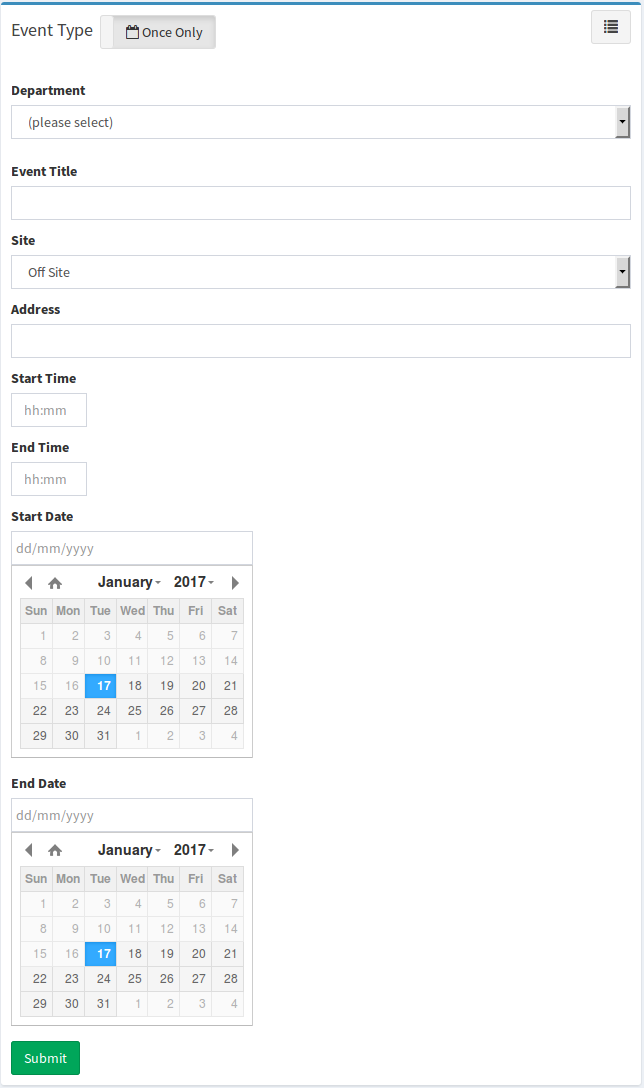
- Department – Select the available departments from the drop down menu that has been populated for your church.
- Event Title – The title of your regular or unique event.
- Site – Select a location from the drop down menu that has been populated for your church. If there are no locations listed, the administrator will need to create them. See Locations.
If your event does not apply to the locations in your drop down menu, select “Off Site”.
- Address – Type the address of your location and the drop down should help provide it. This is only applicable if “Off Site.” was selected for your event location.
- Event Times – A 24hr clock is used by typing the time in (HH:MM) or pressing the boxes and selecting from the drop down.
- Event Dates – The future date that your events will be occurring. You can type the dates in DD/MM/YYYY format or use the calendar view to select your event start and end date.
Click the  button at the bottom of the page.

 button next to a team member’s name.
  button, then start typing their name. Matching names will appear from a populated list as a drop down.
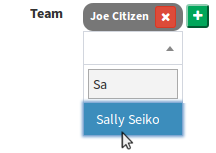

 button. You can then remove it by pressing on the
  button (in the edit section).


 button.
 button at the bottom in order to continue modifying.