

You will need to follow the previous steps of Creating an Event if your event has not yet been created.

You can add to, or modify your event’s team with persons on your church system.
- Remove Team Member – You can remove a person by pressing the red
 button next to a team member’s name.
- Add Team Member – You can add a person by pressing the green
 button, then start typing their name. Matching names will appear from a populated list as a drop down.
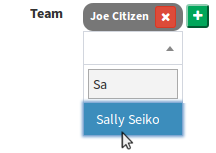
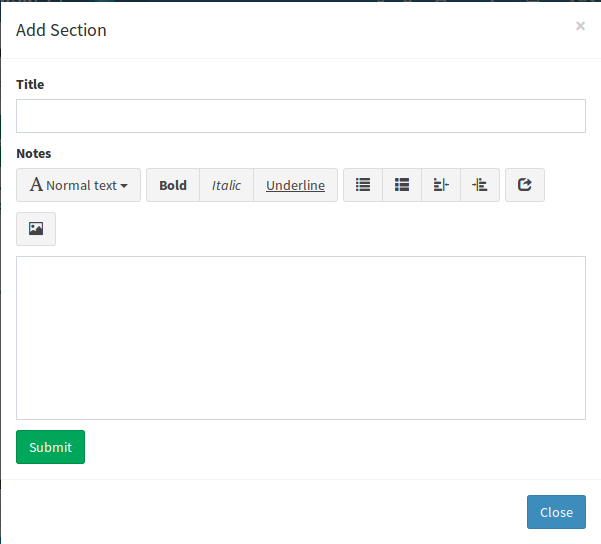
Add a Section, specific to your Event by pressing the blue “+ Add Section” button.

- Title – Add a title that describes your section. (e.g. Townsville-Youth: Set Up)
- Notes – At this point you can add general instructions to your event section or leave blank.
- Edit or Remove an Existing Section – After you have added a Section, you can edit it by pressing on the
 button. You can then remove it by pressing on the
  button (in the edit section).
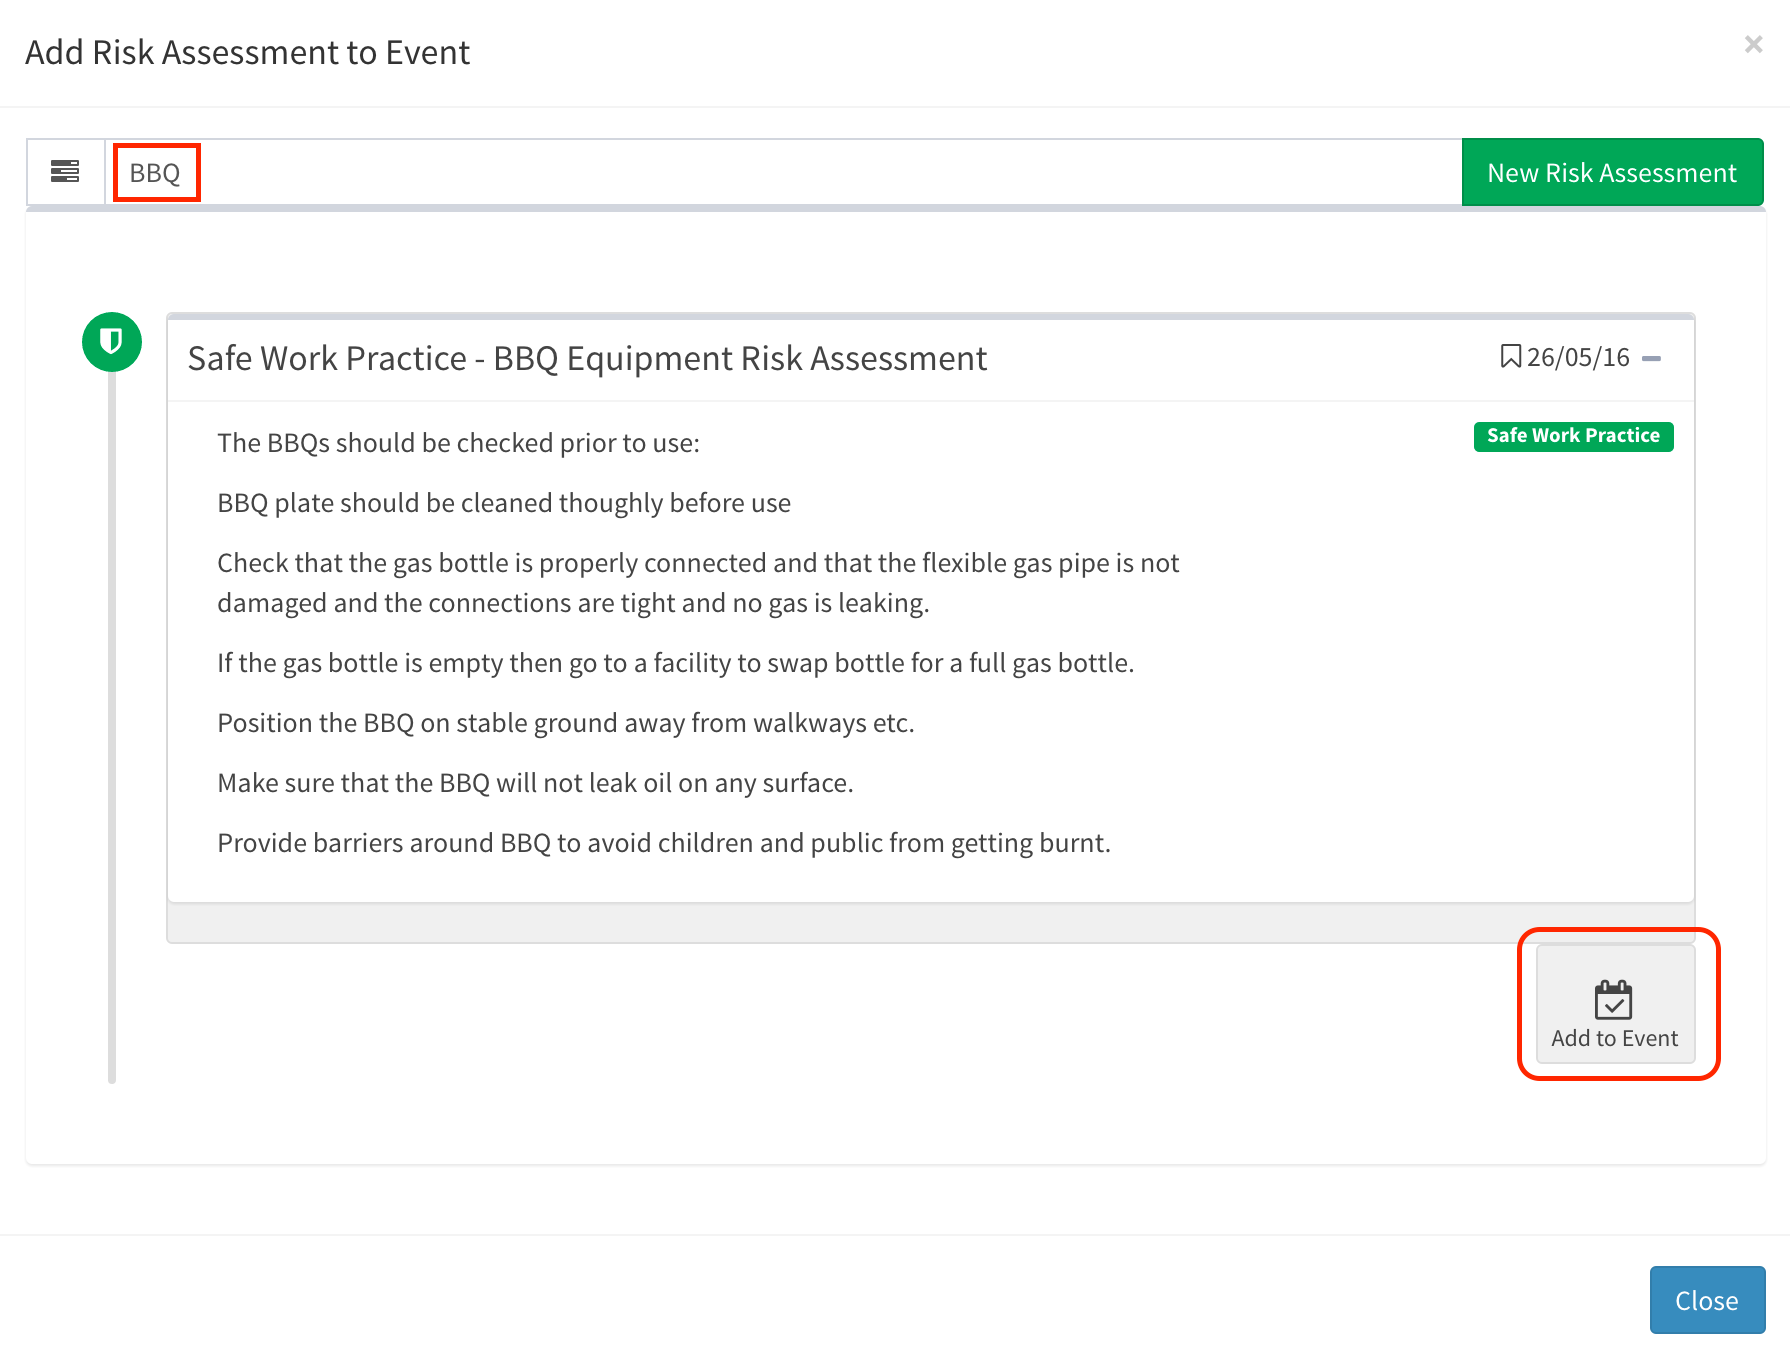
Add a Risk Assessment specific to your Event Section by pressing the green “+Add Risk Assessment” button. Risk Assessments are pre-defined activities designed to be reused for multiple events.
Existing Risk Assessment
- Add an Existing Risk Assessment – Enter the name of an existing risk assessment in the “Enter Risk Assessment name…” field and select the desired risk assessment from the drop down list by pressing the “Add to Event” button.
- Edit an Existing Risk Assessment - After you have added the risk assessment, you can edit it by pressing on the button. This will create a new copy of that risk assessment so not to alter previous events. However, if an existing risk assessment has already been approved as Safe Work Practice by administration, the edit option will not be available.
- Remove an Existing Risk Assessment – After you have added a risk assessment, you can remove it by pressing on the button.
New Risk Assessment
- Create New Risk Assessment – Create a new risk assessment by pressing the green “New Risk Assessment” button next to the “Enter Risk Assessment name…” search field.

- Title – As a recommendation, the title should start with the category (e.g. Game) and then the specific name to help find it for reuse. No Event specific title should be used here.
- Examples:
- Game-Balloon Dart Game
- Swimming-Pool
- Vehicle-Driving Personal Vehicle
- Examples:
- Tag String – Supply tags to categorize your Risk Assessment for future use.
- Notes – Specific notes to describe and instruct on the risk assessment activity.
- Risk Matrix – Completing the Risk Matrix section of a risk assessment is not necessary if no hazard or risk is identified but must be completed if a risk or hazard is identified. Press the gray “+Add Row” button if a risk matrix is necessary.
- Hazard/Risk – Write in the identified hazard or risk. Add additional Hazards/Risks by pressing the grey “+Add Row” button below. Remove additional Hazards/Risks by pressing the red button on the right.
- Without Control Measure – Carry out risk assessment without additional control measures (i.e. probability then severity). A risk assessment Class will appear upon completion.
- Control Measure – Write in the control measures with consideration of hierarchy of controls. Read "Considering Risk Assessment" for more information.
- With Control Measure – Carry out risk assessment with control measures consideration (i.e. probability then severity). A risk assessment Class will appear upon completion.
Press  to add your new Risk Assessment to your Event.
When you have completed the Event, press the green Self Approval button. 